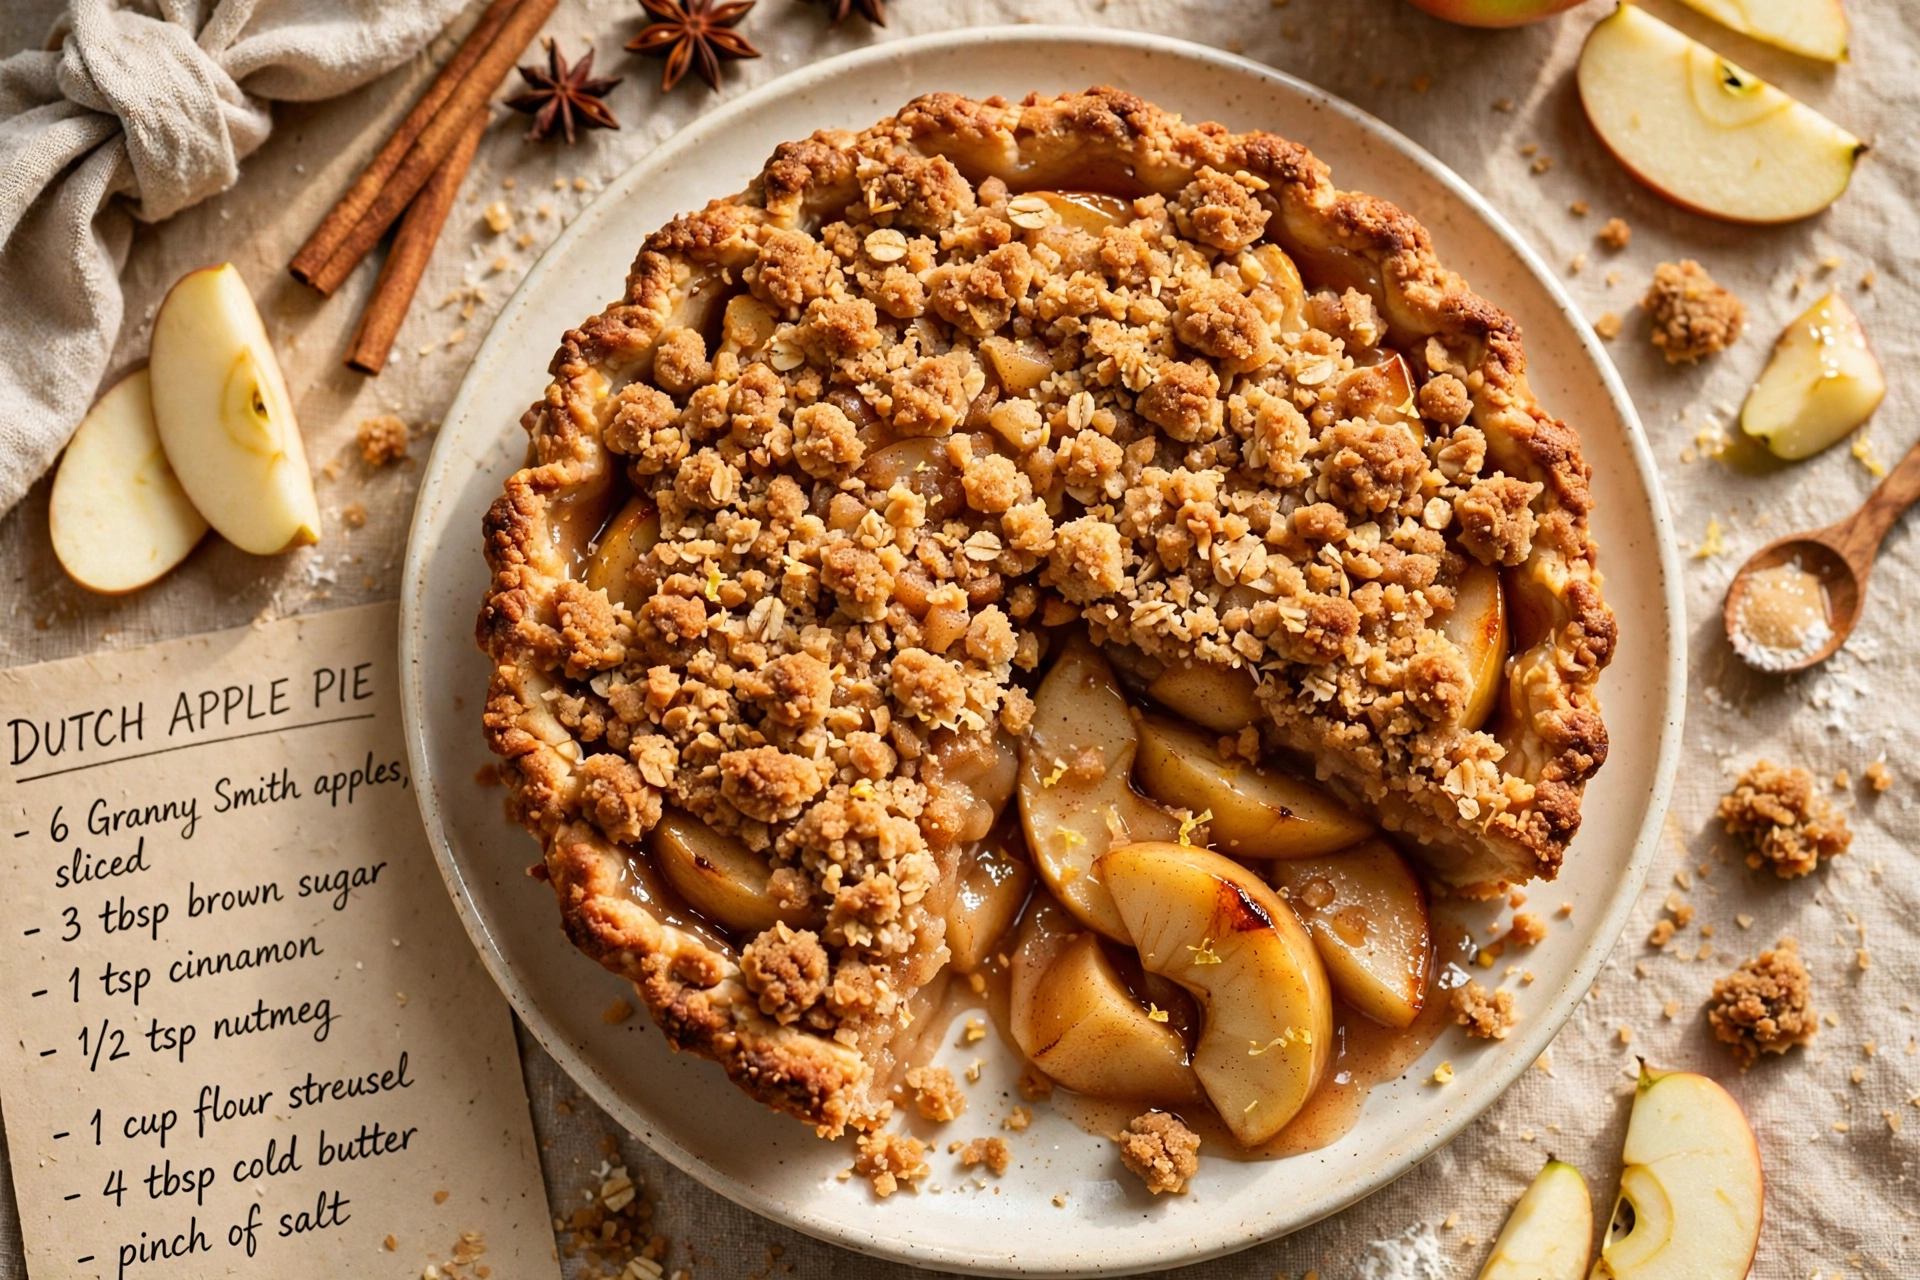
Best Dutch Apple Pie
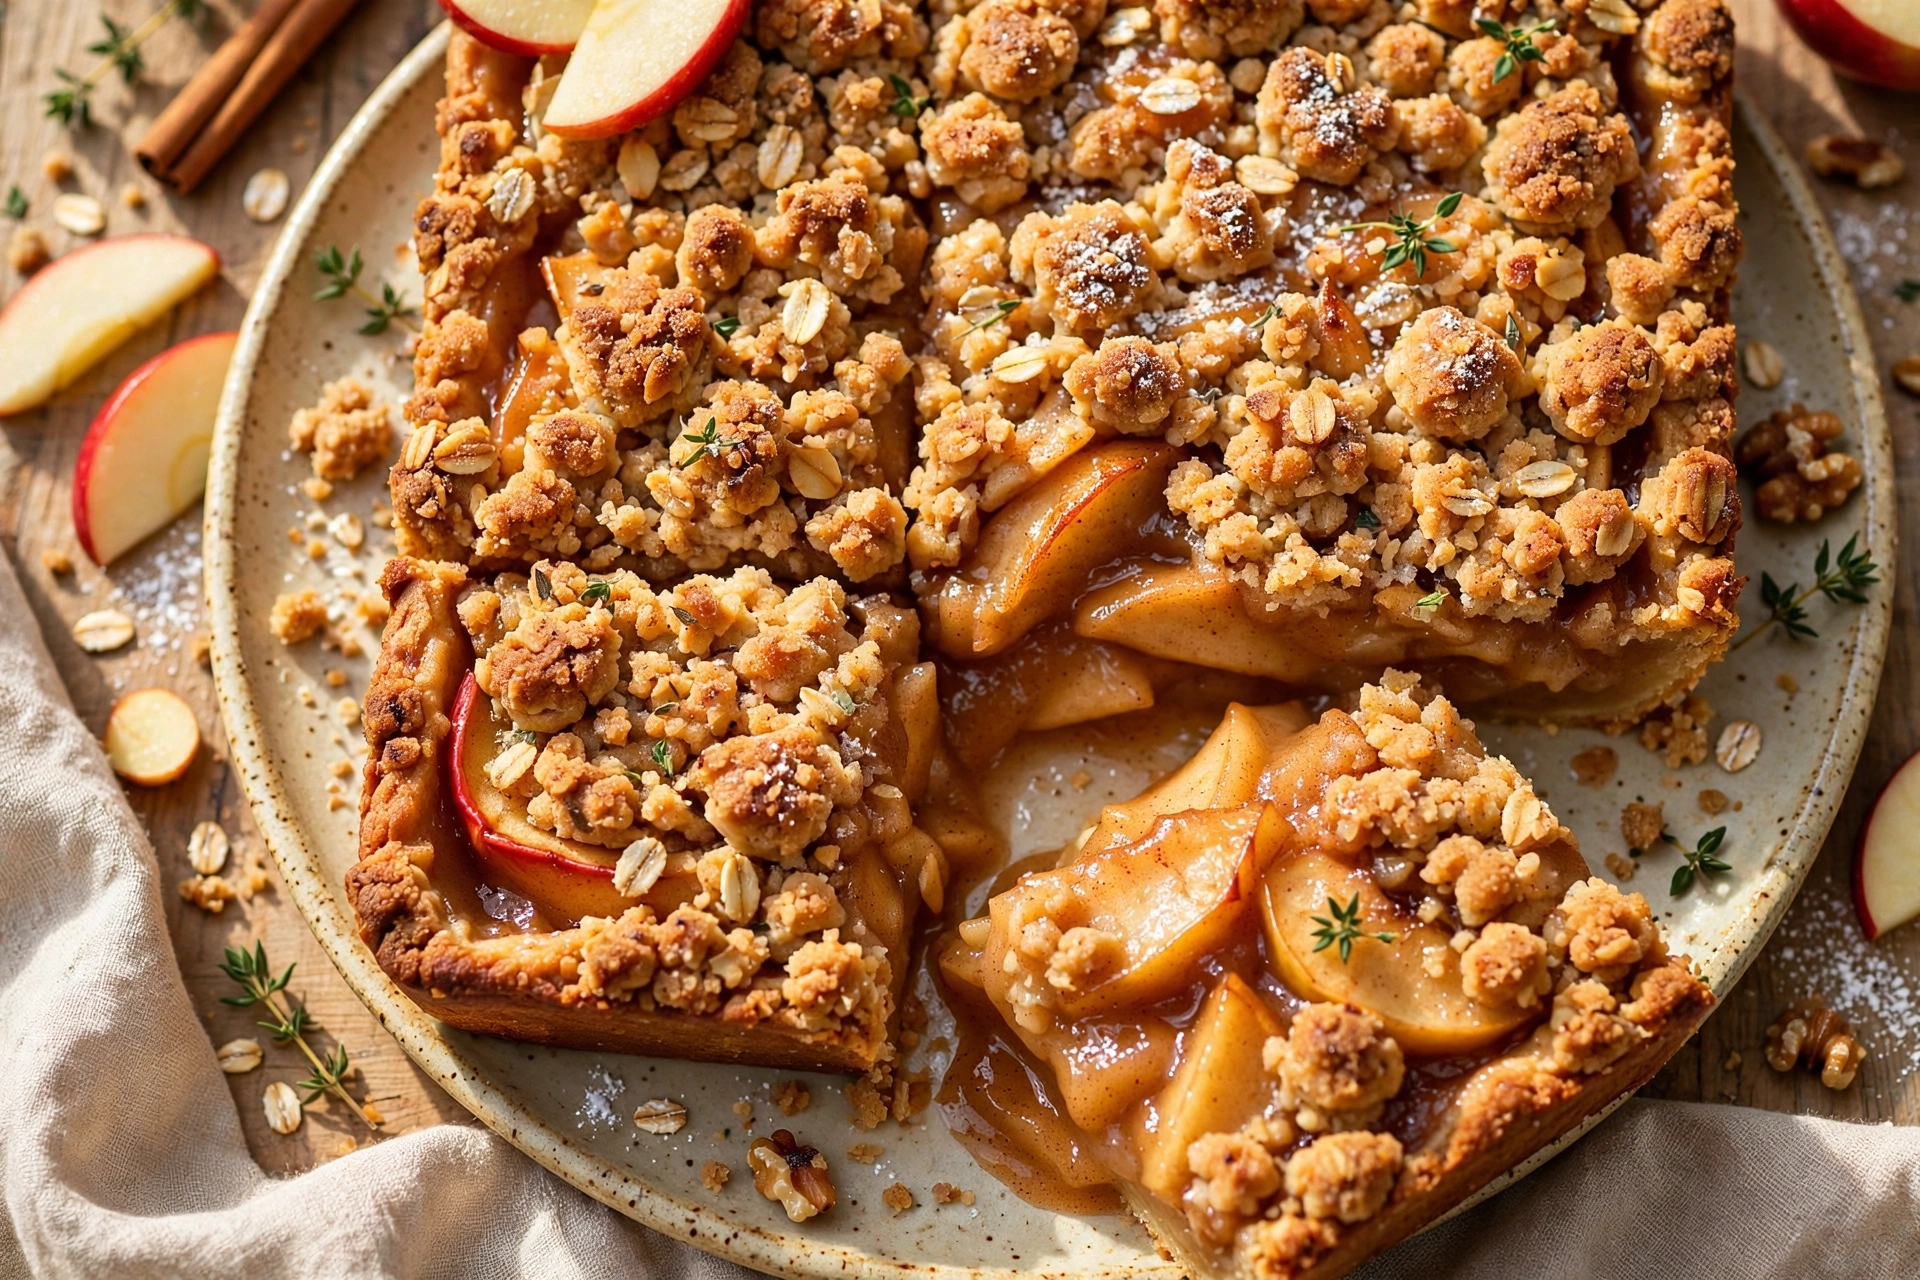
This old fashioned Dutch apple pie has a buttery crumb topping and tender spiced apples baked into a flaky crust. It is the ultimate cozy dessert everyone will ask you to make again.

Why This Dutch Apple Pie Recipe Wins Every Time
There is something magical about the moment a Dutch apple pie comes out of the oven. The crumb topping is golden and craggy, the kitchen smells like cinnamon and warm butter, and the filling underneath is bubbling just at the edges. If you have ever wondered how to make Dutch apple pie the old fashioned way, this recipe delivers exactly that: a flaky bottom crust, a soft spiced apple filling, and a buttery streusel topping that stays crisp even the next day.
Unlike a traditional double crust apple pie, this Dutch apple pie recipe skips the top crust entirely in favor of a rich, crumbly topping. It is easier to make, more forgiving for beginner bakers, and honestly just as delicious, if not more so.
Before we get cooking, the right tools and ingredients make a real difference here. A sturdy pie dish, a reliable pastry cutter, and good quality butter all help this crumb topping turn out perfectly crisp instead of greasy. These are the products that genuinely help this recipe shine:
The Secret to the Best Dutch Apple Pie
The magic of an old fashioned Dutch apple pie comes down to three things: the apples, the spice blend, and the crumb topping ratio.
- Apples: Granny Smith apples are tart and firm, which means they hold their shape during baking instead of turning to mush.
- Spice: A generous mix of cinnamon and freshly grated nutmeg gives the filling that classic cozy flavor.
- Topping: Cold butter worked into the flour and brown sugar creates crumbs that bake up crisp instead of melting into a flat layer.
Chef's Tip: Keep your butter cold right up until it hits the flour mixture. Warm butter makes a paste instead of crumbs, and you will lose that signature craggy texture on top.
Tips for Getting the Crust Just Right
A soggy bottom crust is the most common complaint with any fruit pie, and Dutch apple pie is no exception. A few small habits make a big difference here.
- Keep your pie crust chilled until the moment you fill it.
- Toss the apples with flour before adding them to the crust, since this helps thicken the juices as they bake.
- Bake on the lower oven rack for the first portion of baking time to help the bottom crust set and brown properly.
These small steps are exactly what separate a good Dutch apple pie from the best Dutch apple pie you have ever made.
Ready to make it? Here is the full step-by-step recipe:
Best Dutch Apple Pie
This old fashioned Dutch apple pie has a buttery crumb topping and tender spiced apples baked into a flaky crust. It is the ultimate cozy dessert everyone will ask you to make again.
Ingredients
- 1 pie crust, 9-inch, homemade or store-bought, unbaked
- 6 cups granny smith apples, peeled, cored, and thinly sliced (about 6 medium apples)
- 1/2 cup granulated sugar, for the apple filling
- 2 tbsp all-purpose flour, for thickening the filling
- 1 1/2 tsp ground cinnamon
- 1/4 tsp ground nutmeg, freshly grated if possible
- 1 tbsp lemon juice, freshly squeezed
- 1/4 tsp salt, divided between filling and topping
- 1 cup all-purpose flour, for the crumb topping
- 1/2 cup brown sugar, packed, for the crumb topping
- 1/2 cup unsalted butter, cold, cubed, for the crumb topping
Instruction
Preheat the oven to 375 degrees F (190 degrees C). Fit the unbaked pie crust into a 9-inch pie dish, crimping the edges as desired, and set it in the refrigerator to stay cold while you prep the filling.
In a large bowl, toss the sliced apples with granulated sugar, 2 tablespoons flour, cinnamon, nutmeg, lemon juice, and a pinch of salt until evenly coated.
Pour the apple mixture into the chilled pie crust, mounding the apples slightly in the center since they will shrink as they bake.
In a medium bowl, whisk together the 1 cup flour, brown sugar, and remaining salt for the crumb topping.
Add the cold cubed butter to the flour mixture and use your fingers or a pastry cutter to work it in until the mixture forms coarse, pea-sized crumbs.
Sprinkle the crumb topping evenly over the apples, covering the filling completely.
Place the pie on a rimmed baking sheet to catch any drips, then bake for 20 minutes at 375 degrees F.
Reduce the oven temperature to 350 degrees F (175 degrees C) and continue baking for 30 to 35 minutes, until the topping is golden brown and the filling is bubbling at the edges.
If the crust or topping browns too quickly, loosely tent the pie with foil for the remaining bake time.
Cool the pie on a wire rack for at least 2 hours before slicing to let the filling set properly.
Equipment
- 9-inch pie dish
- Large mixing bowl
- Medium mixing bowl
- Pastry cutter or fork
- Rimmed baking sheet
- Wire cooling rack
Notes
Serving and Storing Your Pie
Dutch apple pie is best served slightly warm, with the crumb topping still a little crisp. A scoop of vanilla ice cream or a drizzle of caramel sauce turns this into an absolute showstopper dessert.
If you have leftovers, cover the pie loosely and store it at room temperature for up to two days, or refrigerate it for up to five days for longer freshness. When you are ready for another slice, a few minutes in a warm oven will bring back that fresh-baked crunch on top.
Chef's Tip: Resist the urge to slice the pie right away. Letting it cool for at least two hours allows the filling to set, so your slices hold together beautifully instead of sliding apart.
Frequently Asked Questions
Whether this is your first time making Dutch apple pie or you have made it a dozen times, these answers cover the most common questions bakers run into, from make-ahead options to ingredient swaps and storage tips. With this recipe in your back pocket, you will always have a reliable, crowd-pleasing dessert ready for any occasion.