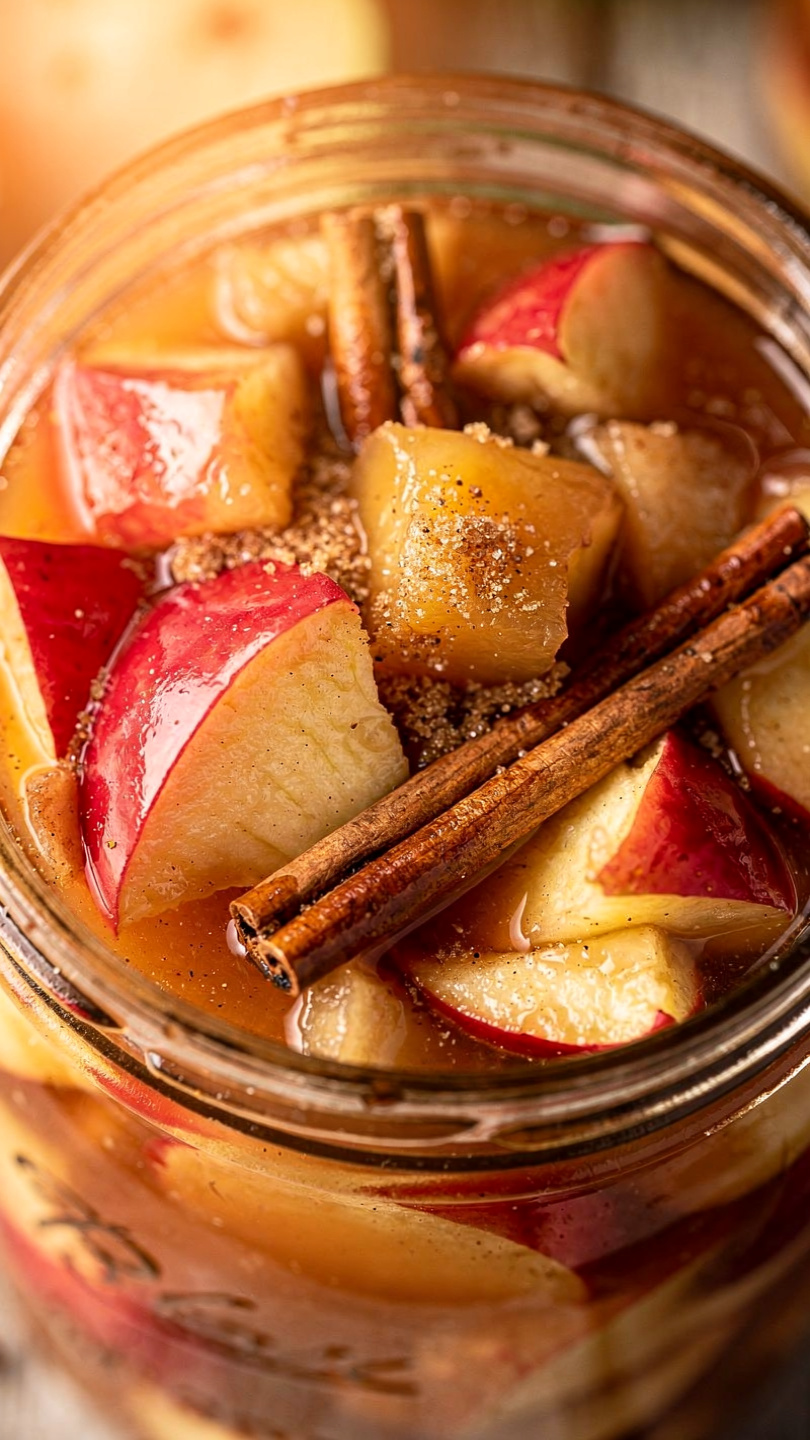
Homemade Apple Pie Filling for Canning
Learn how to can apple pie filling at home with this easy, small-batch recipe, so you can pull a jar off the shelf and have pie ready in minutes.

Why You Need Apple Pie Filling To Can In Your Pantry
There is nothing quite like opening your pantry in the middle of January and finding a jar of homemade apple pie filling waiting for you. No peeling, no slicing, no fuss, just pour it into a crust and bake. If you have ever searched for how to can apple pie filling or wondered whether canning apples for pie filling is really worth the effort, I promise you it is. This is one of those canning projects that pays you back all year long.
This recipe walks you through exactly how to make and can apple pie filling using a safe, tested method with ClearJel, so every jar seals properly and stays shelf stable for months.
Before we get cooking, the right tools and ingredients make a real difference here. A good canner, a reliable jar lifter, and the correct thickener are what separate a frustrating afternoon from a smooth one, so let's talk about what actually helps this recipe shine.
The Secret Ingredient: Why ClearJel Matters
If you have looked into canning apple pie filling no clear jel and wondered if there is a workaround, I want to be honest with you. There really isn't a safe one. ClearJel is a modified cornstarch developed specifically for canning because it holds its thickening power through the high heat of water bath processing without breaking down.
Regular cornstarch or flour can thin out unpredictably during processing, which affects both texture and safety. ClearJel gives you that glossy, sliceable pie filling texture every single time.
Chef's Tip: Look for ClearJel labeled cook-type at your local canning supply store or online. Instant ClearJel is a different product and will not behave the same way in this recipe.
Choosing and Prepping Your Apples
Not all apples are created equal when it comes to canned apple pie filling recipes canning style. You want a firm, tart baking apple that holds its shape after processing instead of turning to mush. My favorites are:
- Granny Smith for their firmness and tang
- Honeycrisp for a slightly sweeter bite
- Braeburn or Jonagold as excellent all-purpose choices
Slice your apples about a quarter inch thick. Thinner slices tend to get soft, while thicker slices may not cook evenly. Blanching the apples briefly before combining them with the syrup is a small step that makes a big difference, it helps prevent the frustrating issue of floating fruit once the jars are sealed.
Building the Perfect Syrup
The syrup is where this filling really comes together. Whisking the sugar and ClearJel together before adding any liquid prevents clumping, which is a common mistake when learning how to make apple pie filling to can. Once the water and lemon juice go in, keep stirring constantly as it heats. You are looking for a thick, glossy syrup that coats the back of a spoon.
The bottled lemon juice is not optional here. It provides consistent, measured acidity that fresh lemons cannot guarantee, and that acidity is part of what makes this recipe safe for water bath canning.
Ready to make it? Here is the full step-by-step recipe:
Homemade Apple Pie Filling for Canning
Learn how to can apple pie filling at home with this easy, small-batch recipe, so you can pull a jar off the shelf and have pie ready in minutes.
Ingredients
- 6 lb apples, peeled, cored, and sliced 1/4 inch thick, Granny Smith or other firm baking apples
- 2 1/2 cups granulated sugar
- 1 cup ClearJel, cook-type, not instant, this is the tested thickener for safe canning
- 1 tsp ground cinnamon
- 1/4 tsp ground nutmeg, optional
- 2 1/2 cups water
- 3/4 cup bottled lemon juice, bottled, not fresh squeezed, for consistent acidity
Instruction
Wash 7 quart-size (or 14 pint-size) canning jars in hot soapy water and keep them warm. Prepare your water bath canner and lids according to the manufacturer's instructions.
Peel, core, and slice the apples into 1/4 inch thick slices. You should have about 6 quarts of sliced apples.
Blanch the apple slices in batches by dropping them into boiling water for 1 minute, then transfer to a bowl and keep warm. This step helps prevent floating fruit in your jars.
In a large stainless steel or enamel pot, whisk together the sugar, ClearJel, cinnamon, and nutmeg until well combined with no lumps.
Stir in the water and bottled lemon juice. Cook over medium high heat, stirring constantly, until the mixture thickens and starts to bubble.
Let the syrup boil gently for 1 minute, continuing to stir so it does not scorch on the bottom of the pot.
Fold the drained, warm apple slices into the hot syrup and stir gently to coat every slice.
Ladle the hot filling into the warm jars, leaving 1 inch of headspace. Use a bubble remover or chopstick to release any trapped air pockets.
Wipe the jar rims clean with a damp cloth, center the lids, and screw on the bands until fingertip tight.
Process quart jars for 25 minutes (or pint jars for 20 minutes) in a boiling water bath, adjusting for your altitude.
Turn off the heat, remove the canner lid, and let the jars sit in the water for 5 minutes before transferring them to a towel-lined counter.
Let the jars cool undisturbed for 12 to 24 hours, then check that all lids have sealed before storing.
Equipment
- Water bath canner
- Canning jars with lids and bands
- Large stainless steel or enamel pot
- Jar lifter
- Canning funnel
- Bubble remover or chopstick
- Ladle
Notes
Storing, Serving, and Using Your Filling
Once your jars have cooled and sealed, store them in a cool, dark cupboard or pantry. A proper seal means the lid does not flex when you press the center. Any jars that did not seal should go straight into the refrigerator and be used within about a week.
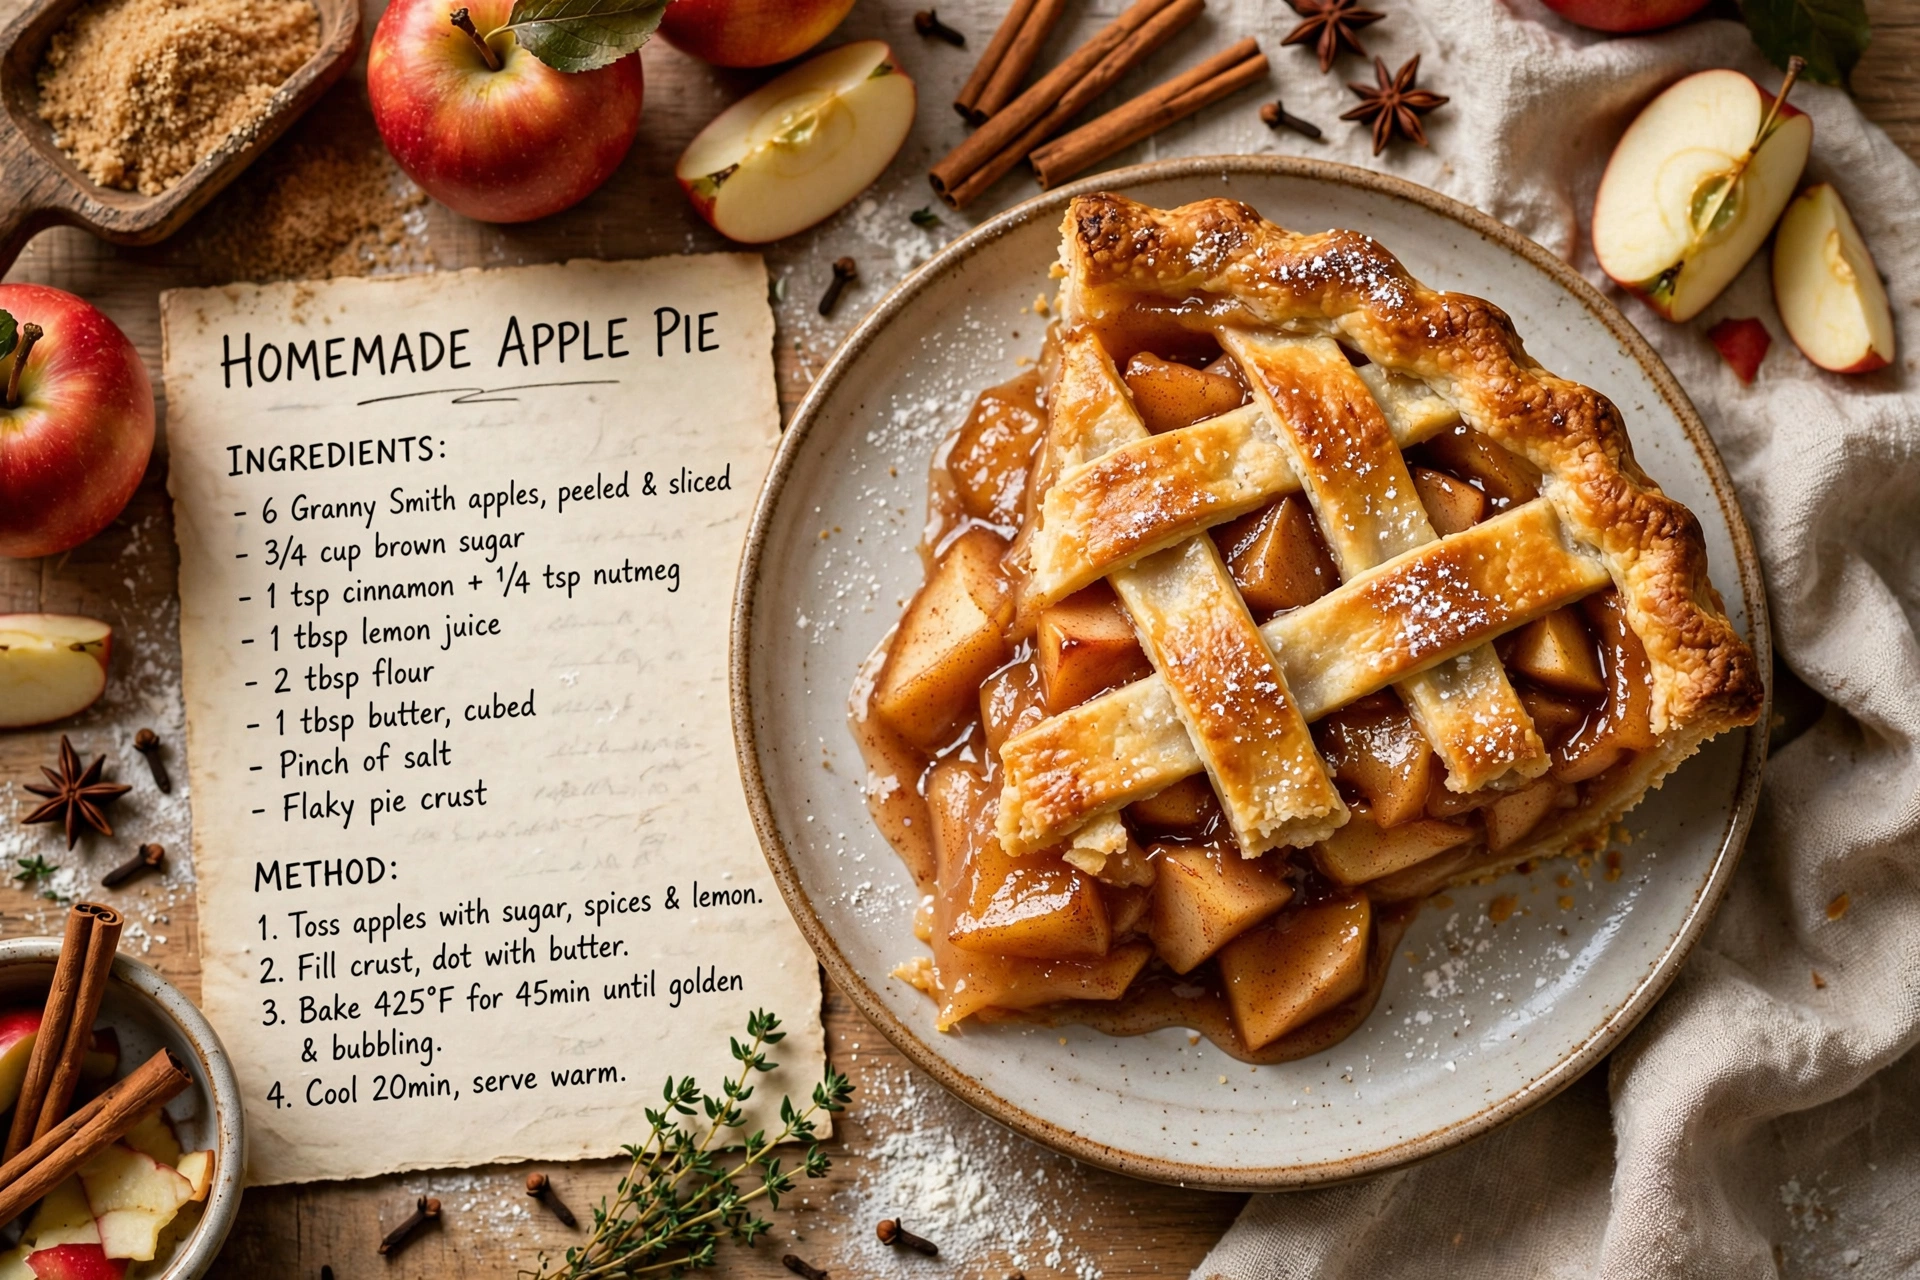
When you are ready to bake, simply pour one quart of filling into an unbaked pie crust, dot with a little butter, add your top crust, and bake as you normally would. You can also use this filling for:
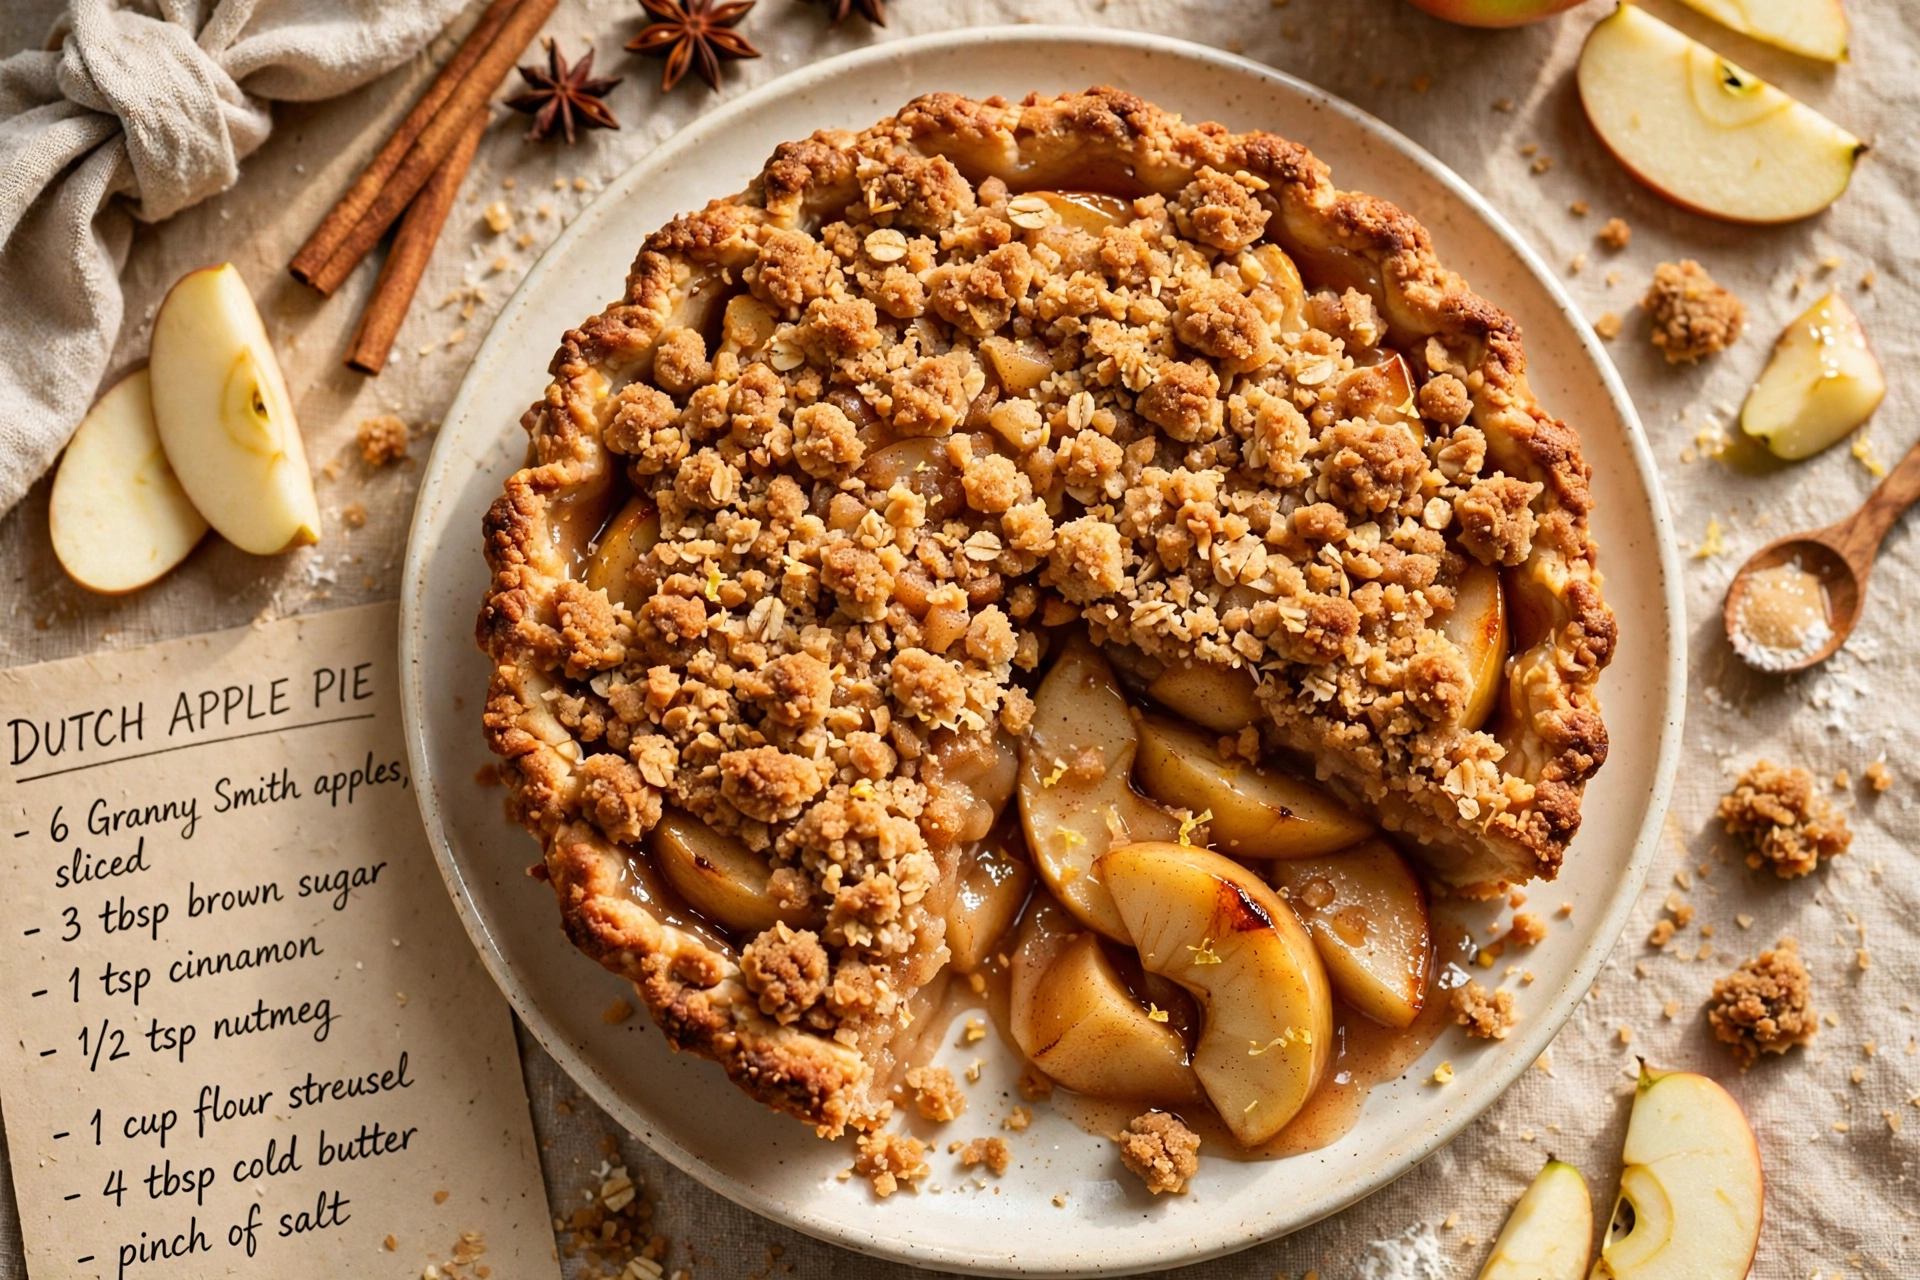
- Apple crisp or crumble topping
- A warm topping for pancakes or waffles
- A quick filling for hand pies or turnovers
Chef's Tip: If your filling seems a little thin after opening a jar, a quick five minute simmer on the stovetop before using it will thicken it right back up.
However you use it, having a stash of canned apple pie filling on your shelf means dessert is basically already done. Happy canning.