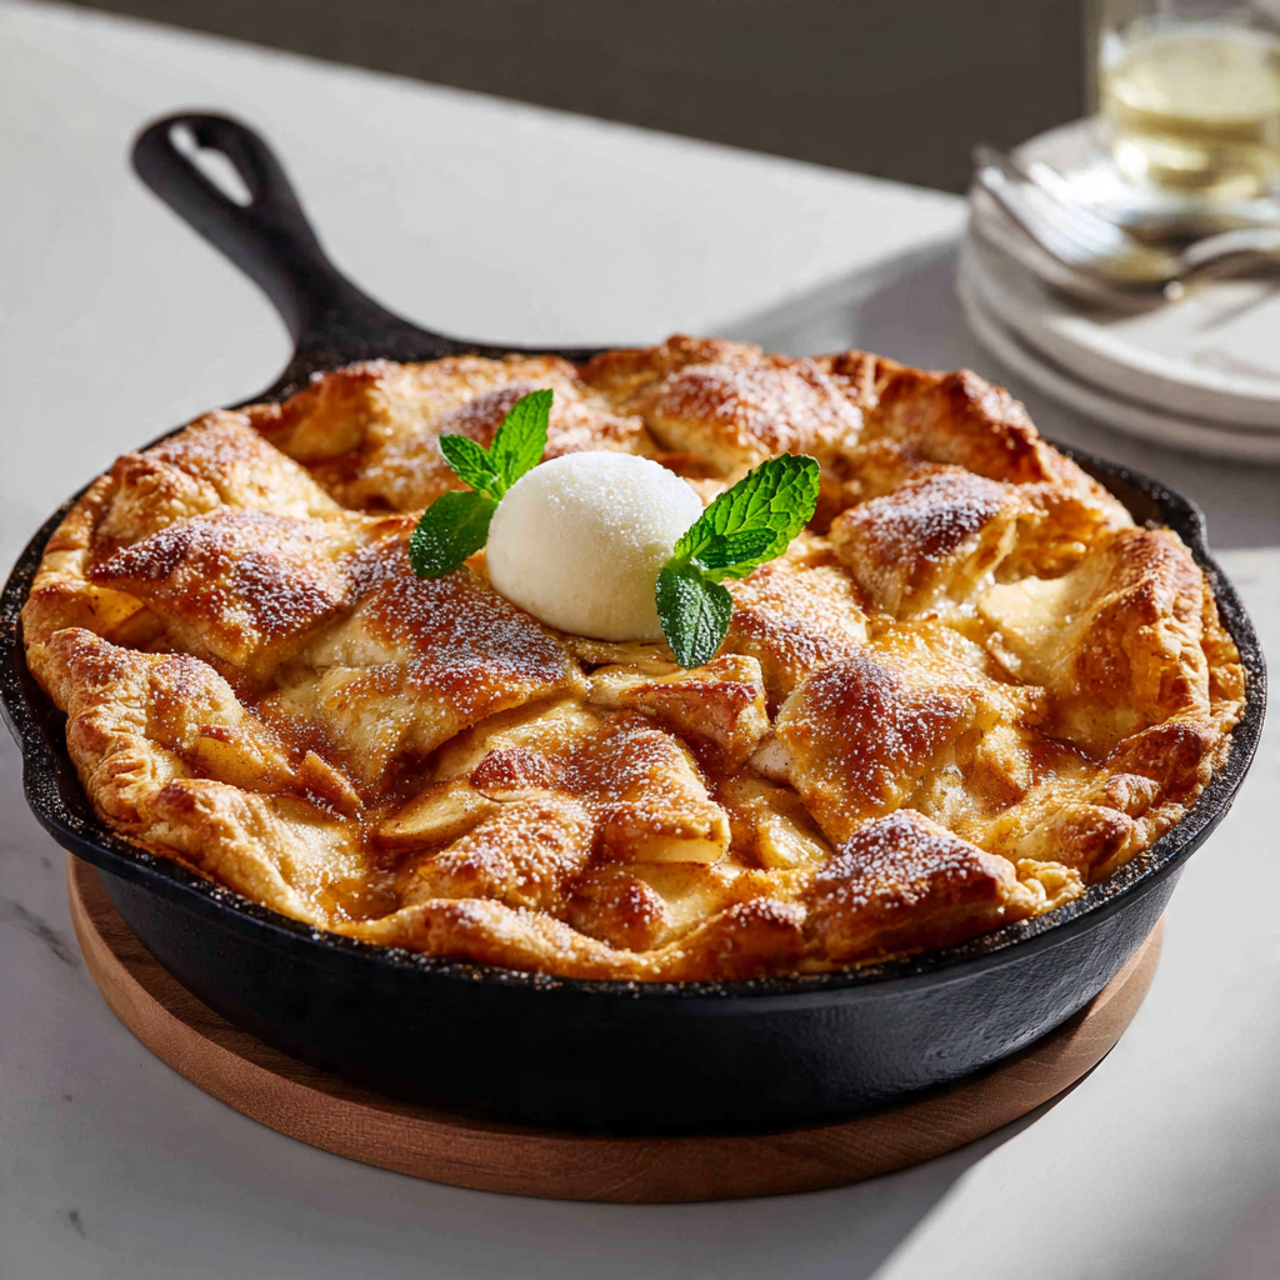
Rustic Skillet Apple Pie
This rustic skillet apple pie bakes up bubbling and golden in a cast iron pan, with a flaky crust and cinnamon-spiced apples in every bite.

Why This Skillet Apple Pie Is Worth the Trouble
There is something about baking a pie right in the same cast iron skillet you cooked the filling in that feels like a shortcut and a flex at the same time. This rustic skillet apple pie skips the usual back and forth between stovetop and pie dish. Everything happens in one pan, and the result is a dessert with deeply caramelized edges, a filling that is never watery, and a crust that crisps up in a way a glass pie dish just cannot match.
If you have ever searched for an apple pie recipe cast iron style, or wondered how the Pioneer Woman gets her skillet apple pie so golden and bubbling, this is the method. It borrows the best parts of stove top apple pie cooking, where the apples get a head start in butter and brown sugar, and then finishes everything with a proper double crust baked until deeply bronzed.
Before we get cooking, the right tools and ingredients make a real difference here. A well seasoned cast iron skillet holds and distributes heat evenly, which is exactly what gives this pie its signature caramelized bottom crust, and a good pastry cutter makes quick work of cold butter so your dough stays flaky instead of tough.
Choosing the Right Apples
Not all apples behave the same way in the oven. For the best rustic apple pie recipe, you want a mix of textures and flavors:
- Granny Smith apples hold their shape and add tartness
- Honeycrisp or Braeburn apples bring natural sweetness and a bit of juiciness
- Avoid using only soft apples like Red Delicious, since they tend to turn mushy under heat
A blend of firm and sweet varieties keeps the filling from turning to mush while still tasting rich and complex once it is spiced and cooked down.
Chef's Tip: Slice your apples to a consistent thickness, about a quarter inch, so they cook evenly and you avoid any raw, crunchy bites hiding in the center of the pie.
Building Layers of Flavor
What sets this apart from other rustic pie recipes is that the apples get partially cooked in the skillet itself before the crust ever goes on. Melting butter directly in the cast iron and simmering the apples with brown sugar and apple pie spice means the filling starts developing flavor and thickening naturally, long before it sees the inside of an oven. This step is what makes recipes with apple pie spice so much more fragrant than pies that rely on raw, uncooked fruit.
A splash of lemon juice keeps the apples bright and balances all that brown sugar sweetness, while a bit of cornstarch stirred in at the end ensures the filling sets into neat, sliceable wedges rather than a runny puddle.
Ready to make it? Here is the full step-by-step recipe:
Rustic Skillet Apple Pie
This rustic skillet apple pie bakes up bubbling and golden in a cast iron pan, with a flaky crust and cinnamon-spiced apples in every bite.
Ingredients
- 2 1/2 cups all-purpose flour, plus extra for rolling
- 1 tbsp granulated sugar, for the crust
- 1 tsp salt, divided
- 1 cup unsalted butter, cold, cubed, divided between crust and filling
- 1/2 cup ice water, plus more as needed
- 8 apples, peeled, cored, and sliced; a mix of Granny Smith and Honeycrisp
- 3/4 cup brown sugar, packed
- 2 tsp apple pie spice, or a blend of cinnamon, nutmeg, and allspice
- 1 tbsp lemon juice, freshly squeezed
- 2 tbsp cornstarch, for thickening the filling
- 1 egg, beaten, for egg wash
- 1 tbsp coarse sugar, for sprinkling on top, optional
Instruction
In a large bowl, whisk together the flour, sugar, and 1/2 teaspoon salt. Cut in 3/4 cup of the cold butter using a pastry cutter or your fingers until the mixture resembles coarse crumbs.
Drizzle in the ice water a little at a time, stirring gently, until the dough just comes together. Divide into two disks, wrap in plastic, and chill for at least 1 hour.
Meanwhile, melt the remaining 1/4 cup butter in the skillet over medium heat. Add the sliced apples, brown sugar, apple pie spice, lemon juice, and remaining salt. Cook for 8 to 10 minutes, stirring occasionally, until the apples begin to soften.
Sprinkle the cornstarch over the apple mixture and stir well to coat. Remove the skillet from heat and let the filling cool slightly.
Preheat the oven to 400 degrees F (200 degrees C).
On a lightly floured surface, roll out one dough disk into a circle large enough to line the bottom and sides of the skillet. Press it gently into the skillet over the cooled filling if not already there, or transfer the filling into the lined skillet.
Roll out the second dough disk and place it over the filling, or cut it into strips for a lattice design. Trim and crimp the edges to seal.
Brush the top crust with beaten egg and sprinkle with coarse sugar. Cut a few small slits in the top to let steam escape.
Bake for 40 to 45 minutes, until the crust is deep golden brown and the filling is bubbling through the vents.
Let the pie cool in the skillet for at least 20 minutes before slicing, so the filling has time to set.
Equipment
- 10-inch cast iron skillet
- Pastry cutter or fork
- Rolling pin
- Large mixing bowl
- Pastry brush
Notes
Serving and Storing Your Skillet Apple Pie
This apple pie skillet recipe is best enjoyed warm, straight from the pan, ideally with a scoop of vanilla ice cream melting into the crevices of the top crust. The skillet itself makes a rustic, farmhouse style presentation, so there is no need to transfer slices to a fancy platter. Just bring the whole pan to the table.
If you have leftovers, cover the skillet loosely and store it at room temperature for a day or two, or move it to the fridge for longer storage. A quick trip back into a moderate oven revives the crust far better than a microwave ever could.
A Few Variations to Try
- Swap half the brown sugar for maple syrup for a deeper, autumnal flavor
- Add a handful of dried cranberries or chopped pecans to the filling for texture
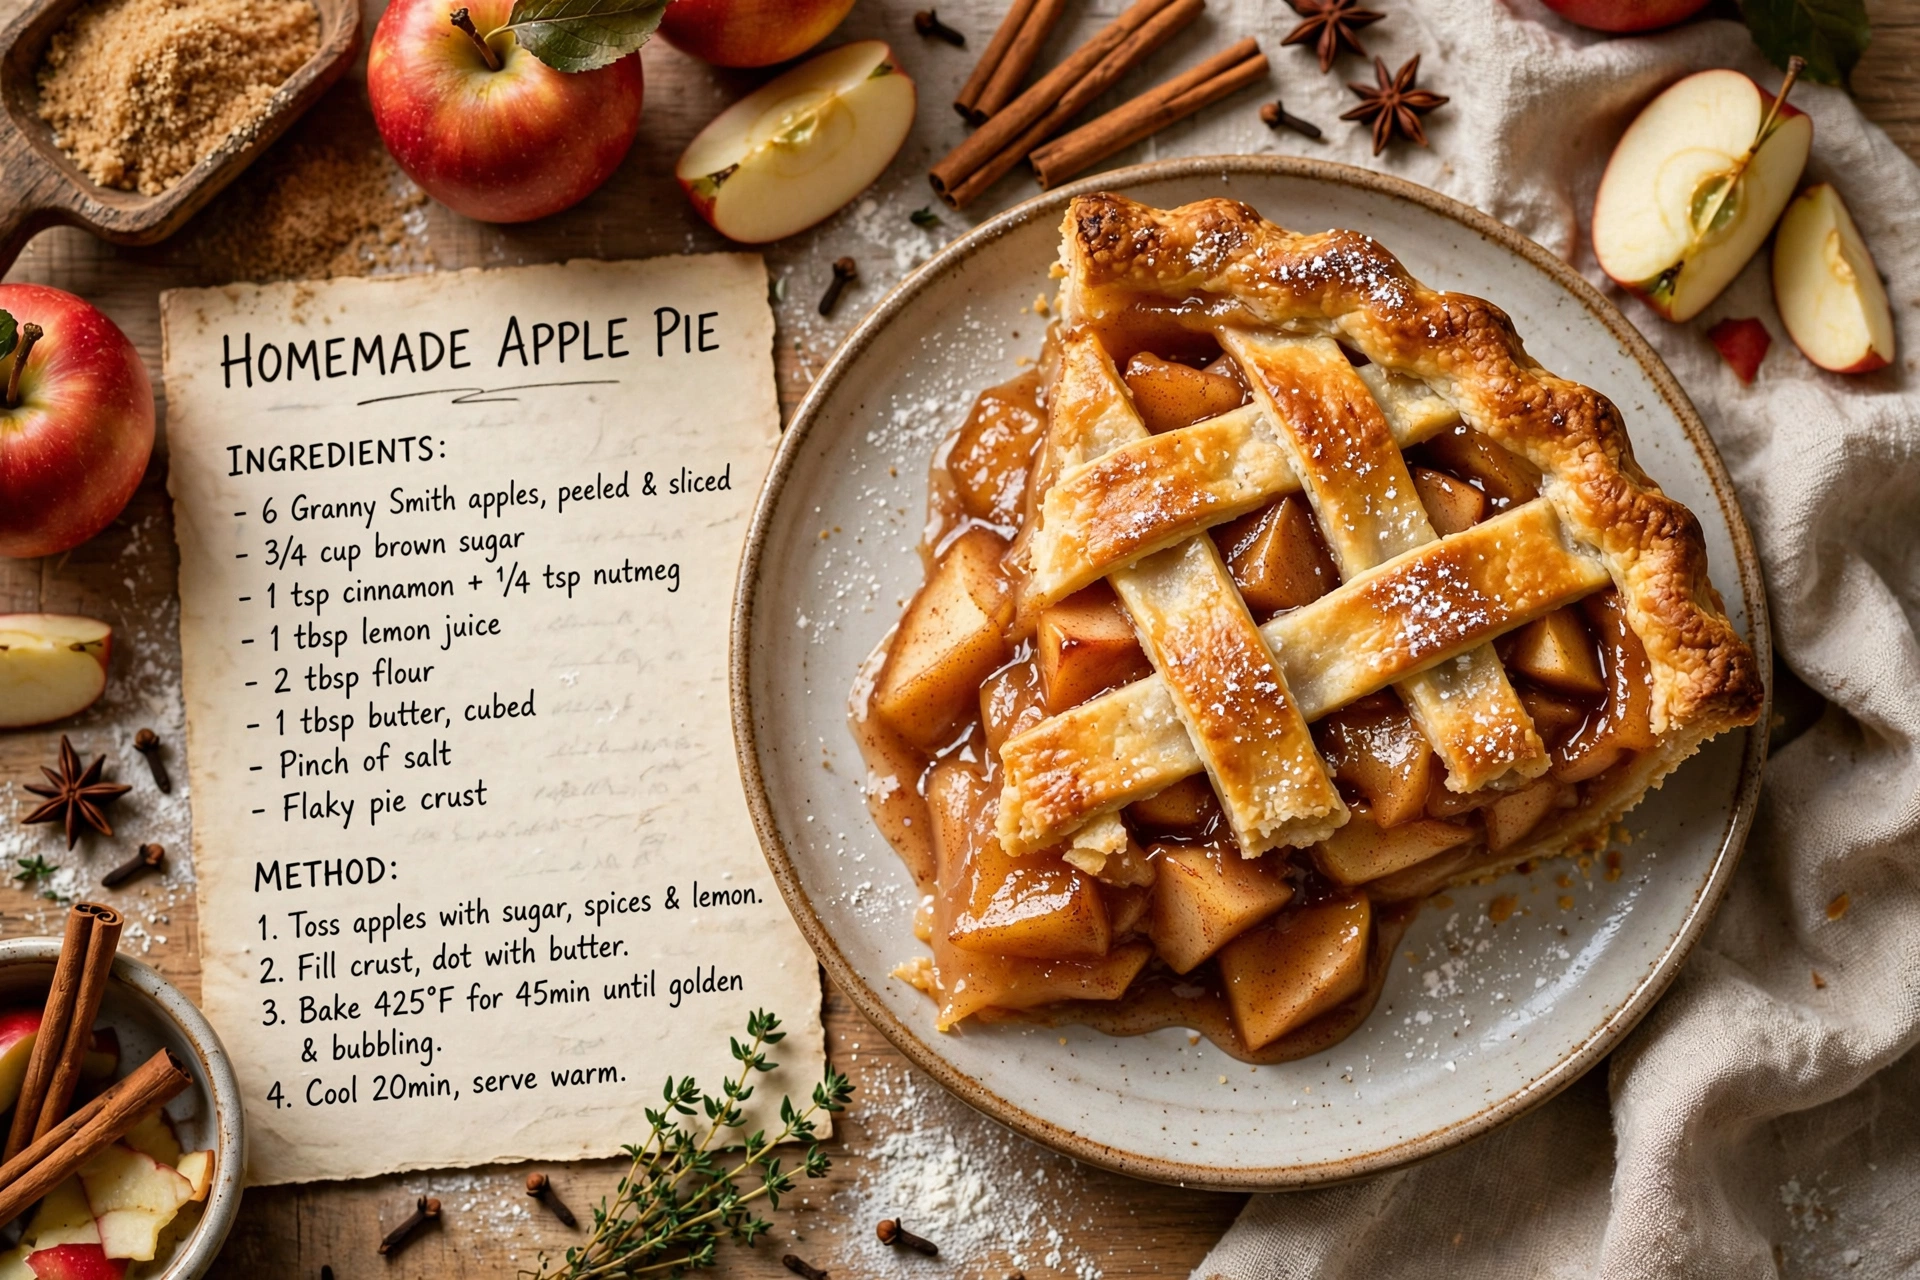
- Try a lattice top instead of a full crust for a more decorative, rustic finish
However you serve it, this cast iron dessert is proof that sometimes the simplest, one-pan approach makes the best pie of all.